| S3 FTP: build a reliable and inexpensive FTP server using S3 | 您所在的位置:网站首页 › file server s3 › S3 FTP: build a reliable and inexpensive FTP server using S3 |
S3 FTP: build a reliable and inexpensive FTP server using S3
|
Is it possible to create an S3 FTP file backup/transfer solution, minimizing associated file storage and capacity planning administration headache? FTP (File Transfer Protocol) is a fast and convenient way to transfer large files over the Internet. You might, at some point, have configured an FTP server and used block storage, NAS, or an SAN as your backend. However, using this kind of storage requires infrastructure support and can cost you a fair amount of time and money. Could an S3 FTP solution work better? Since AWS’s reliable and competitively priced infrastructure is just sitting there waiting to be used, we were curious to see whether AWS can give us what we need without the administration headache. Updated 14/Aug/2019 – streamlined instructions and confirmed that they are still valid and work. Why S3 FTP?Amazon S3 is reliable and accessible, that’s why. Also, in case you missed it, AWS just announced some new Amazon S3 features during the last edition of re:Invent. Amazon S3 provides infrastructure that’s “designed for durability of 99.999999999% of objects.” Amazon S3 is built to provide “99.99% availability of objects over a given year.” You pay for exactly what you need with no minimum commitments or up-front fees. With Amazon S3, there’s no limit to how much data you can store or when you can access it. Last but not least, you can always optimize Amazon S3’s performance.NOTE: FTP is not a secure protocol and should not be used to transfer sensitive data. You might consider using the SSH File Transfer Protocol (sometimes called SFTP) for that. Using S3 FTP: object storage as filesystemSAN, iSCSI, and local disks are block storage devices. That means block storage volumes that are attached directly to an machine running an operating system that drives your filesystem operations. But S3 is built for object storage. This mean interactions occur at the application level via an API interface, meaning you can’t mount S3 directly within your operating system. S3FS To the RescueS3FS-Fuse will let us mount a bucket as a local filesystem with read/write access. On S3FS mounted files systems, we can simply use cp, mv, and ls – and all the basic Unix file management commands – to manage resources on locally attached disks. S3FS-Fuse is a FUSE based file system that enables fully functional filesystems in a userspace program. 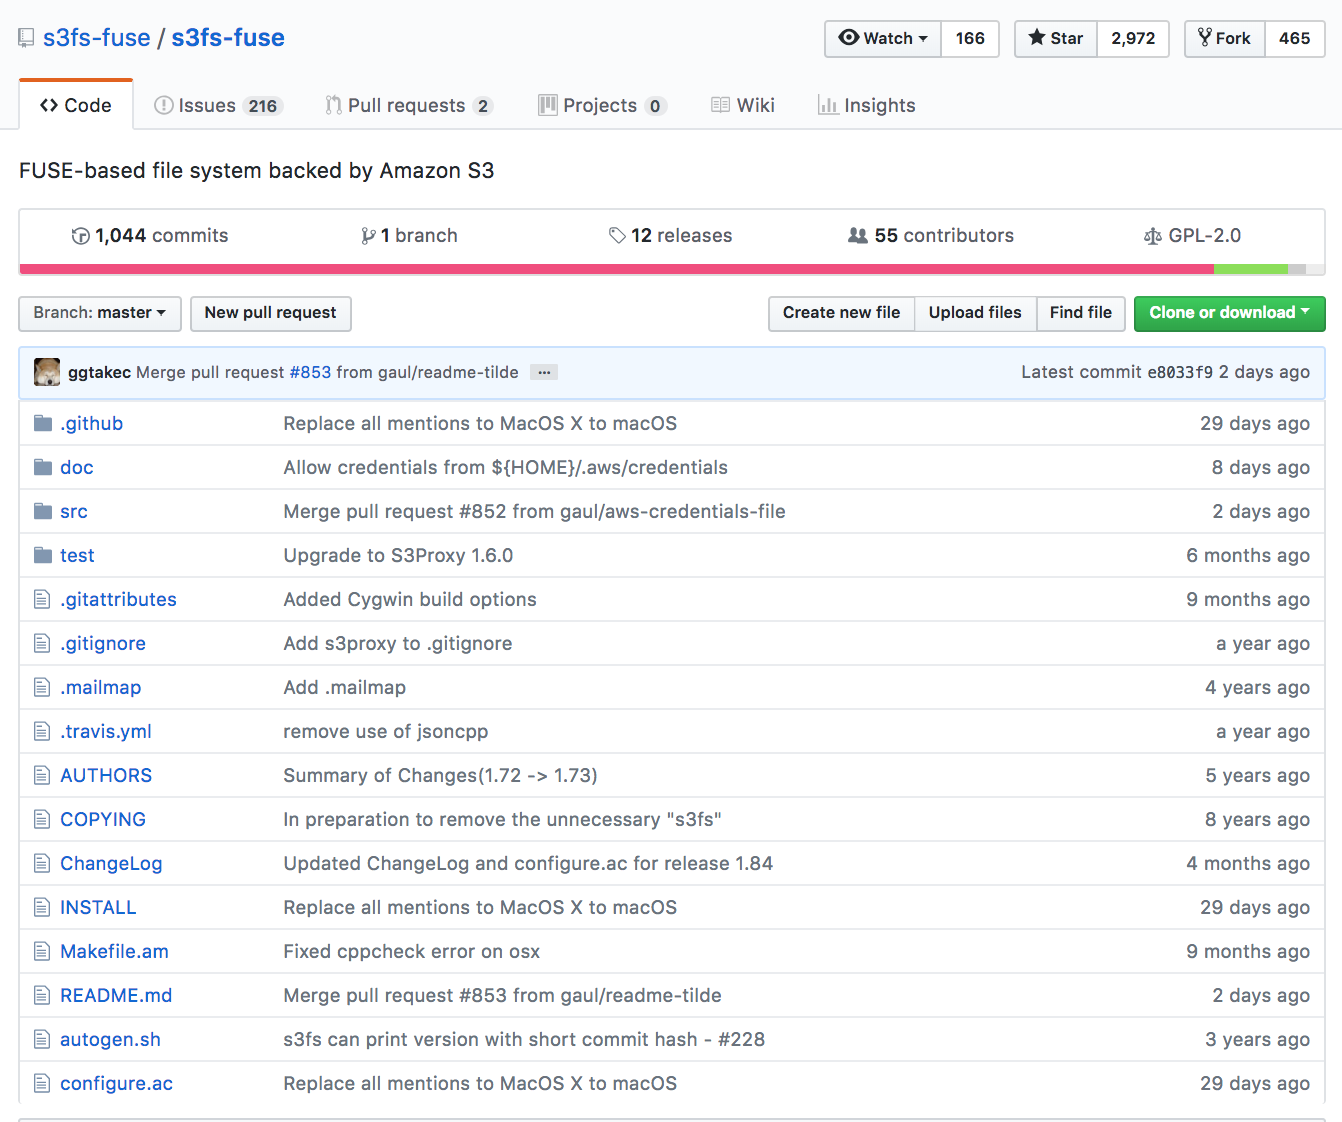
So it seems that we’ve got all the pieces for an S3 FTP solution. How will it actually work? S3FTP Environment SettingsIn this documented setup the following environmental settings have been used. If you deviate from these values, ensure to correctly use the values that you set within your own environment: S3 Bucket Name: ca-s3fs-bucket (you’ll need to use your own unique bucket name) S3 Bucket Region: us-west-2 S3 IAM Policy Name: S3FS-Policy EC2 IAM Role Name: S3FS-Role EC2 Public IP Address: 18.236.230.74 (yours will definitely be different) FTP User Name: ftpuser1 FTP User Password: your-strong-password-hereNote: The remainder of this setup assumes that the S3 bucket and EC2 instance are deployed/provisioned in the same AWS Region. S3FTP Installation and Setup Step 1: Create an S3 BucketFirst step is to create an S3 bucket which will be the end location for our FTP uploaded files. We can do this simply by using the AWS console: 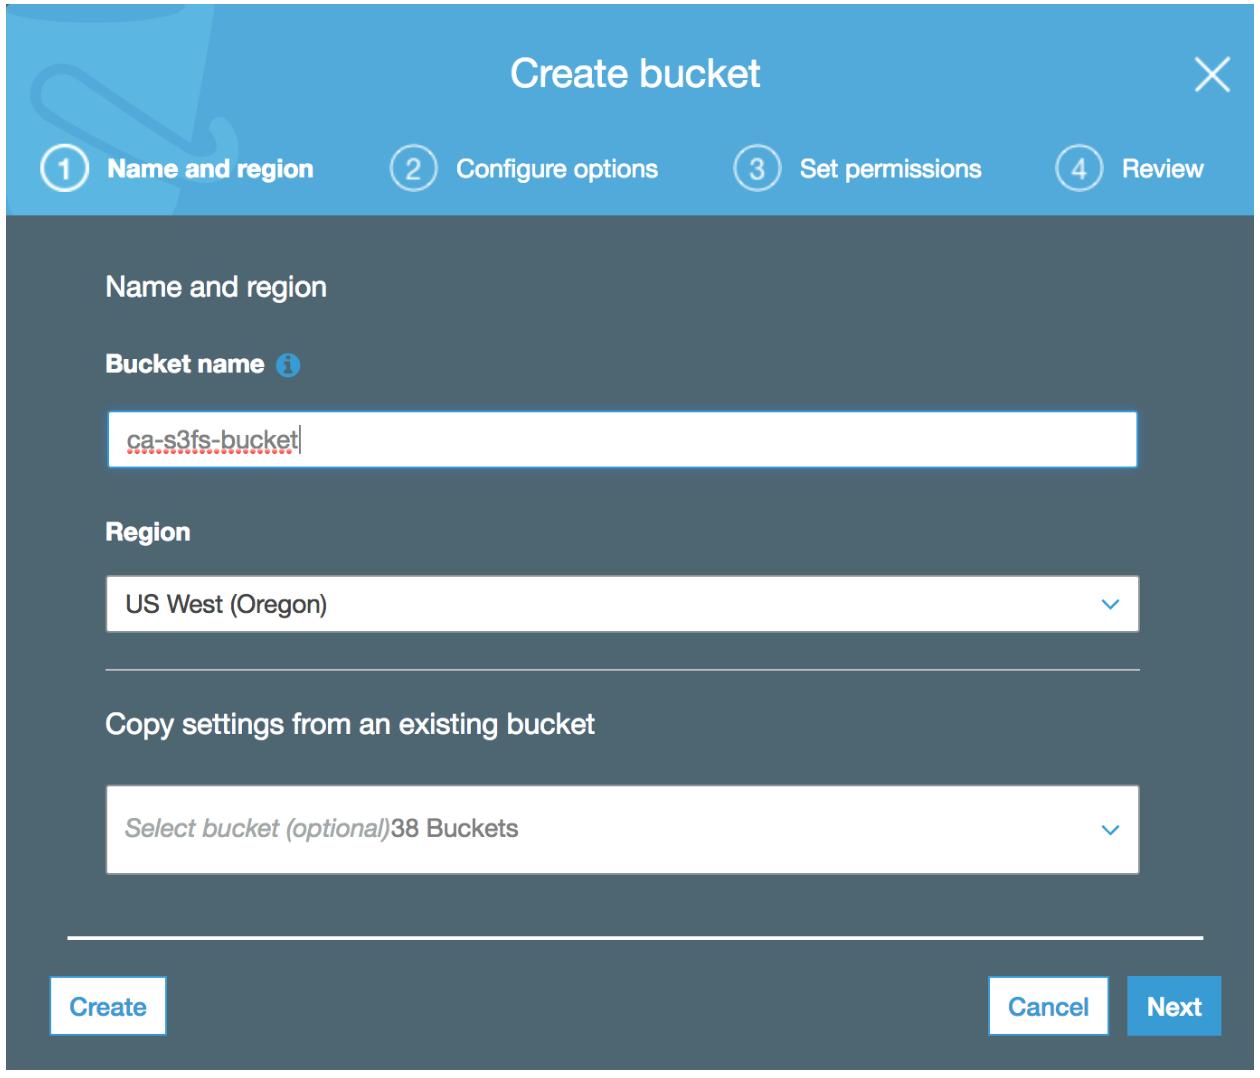 Step 2: Create an IAM Policy and Role for S3 Bucket Read/Write Access
Next, we create an IAM Policy and Role to control access into the previously created S3 bucket. Later on, our EC2 instance will be launched with this role attached to grant it read and write bucket permissions. Note, it is very important to take this approach with respect to granting permissions to the S3 bucket, as we want to avoid hard coding credentials within any of our scripts and/or configuration later applied to our EC2 FTP instance. We can use the following AWS CLI command and JSON policy file to perform this task: aws iam create-policy \ --policy-name S3FS-Policy \ --policy-document file://s3fs-policy.jsonWhere the contents of the s3fs-policy.json file are: Note: the bucket name (ca-s3fs-bucket) needs to be replaced with the S3 bucket name that you use within your own environment. { "Version": "2012-10-17", "Statement": [ { "Effect": "Allow", "Action": ["s3:ListBucket"], "Resource": ["arn:aws:s3:::ca-s3fs-bucket"] }, { "Effect": "Allow", "Action": [ "s3:PutObject", "s3:GetObject", "s3:DeleteObject" ], "Resource": ["arn:aws:s3:::ca-s3fs-bucket/*"] } ] }Using the AWS IAM console, we then create the S3FS-Role and attach the S3FS-Policy like so: 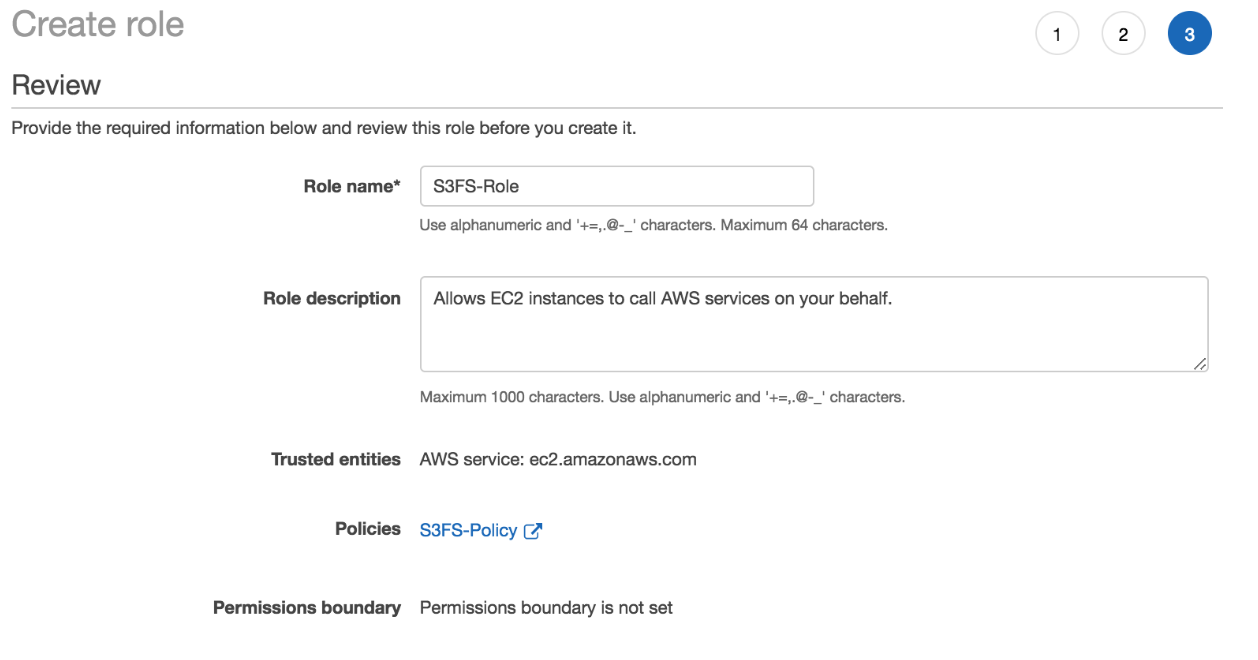 Step 3: Launch FTP Server (EC2 instance – Amazon Linux)
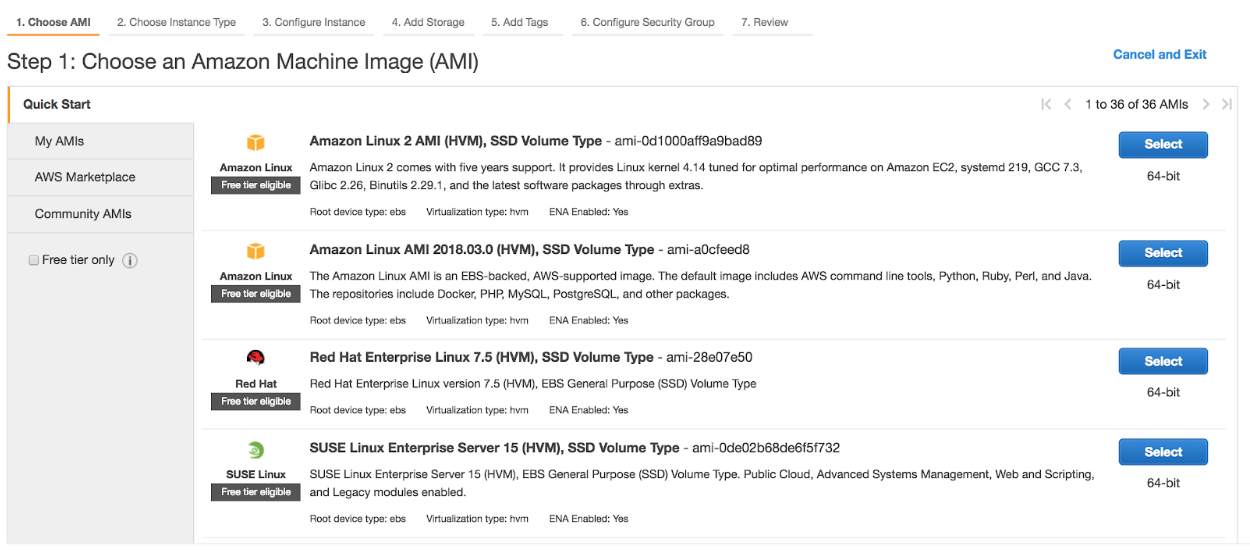
We’ll use AWS’s Amazon Linux 2 for our EC2 instance that will host our FTP service. Again using the AWS CLI we can launch an EC2 instance by running the following command – ensuring that we launch with the S3FS-Role attached. Note: in this case we are lazily using the –associate-public-ip-address parameter to temporarily assign a public IP address for demonstration purposes. In a production environment we would provision an EIP address, and use this instead. aws ec2 run-instances \ --image-id ami-0d1000aff9a9bad89 \ --count 1 \ --instance-type t3.micro \ --iam-instance-profile Name=S3FS-Role \ --key-name EC2-KEYNAME-HERE \ --security-group-ids SG-ID-HERE \ --subnet-id SUBNET-ID-HERE \ --associate-public-ip-address \ --region us-west-2 \ --tag-specifications \ 'ResourceType=instance,Tags=[{Key=Name,Value=s3fs-instance}]' \ 'ResourceType=volume,Tags=[{Key=Name,Value=s3fs-volume}]'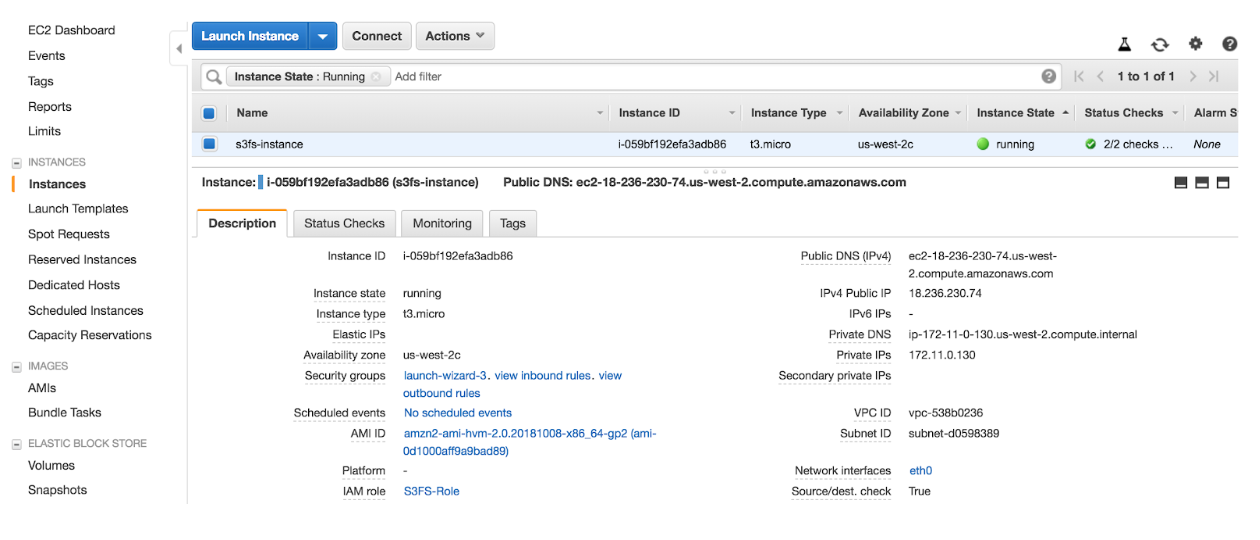 Step 4: Build and Install S3FS from Source:
Note: The remainder of the S3 FTP installation as follows can be quickly performed by executing the s3ftp.install.sh script on the EC2 instance that you have just provisioned. The script assumes that the S3 bucket has been created in the Oregon (us-west-2) region. If your setup is different, you can simply update the variables at the top of the script to address differences. Otherwise, the S3 FTP installation as manually performed… Next we need to update the local operating system packages and install extra packages required to build and compile the s3fs binary. sudo yum -y update && \ sudo yum -y install \ jq \ automake \ openssl-devel \ git \ gcc \ libstdc++-devel \ gcc-c++ \ fuse \ fuse-devel \ curl-devel \ libxml2-develDownload the S3FS source code from GitHub, run the pre-build scripts, build and install the s3fs binary, and confirm s3fs binary is installed correctly. git clone https://github.com/s3fs-fuse/s3fs-fuse.git cd s3fs-fuse/ ./autogen.sh ./configure make sudo make install which s3fs s3fs --help Step 5: Configure FTP User Account and Home DirectoryWe create our ftpuser1 user account which we will use to authenticate against our FTP service: sudo adduser ftpuser1 sudo passwd ftpuser1We create the directory structure for the ftpuser1 user account which we will later configure within our FTP service, and for which will be mounted to using the s3fs binary: sudo mkdir /home/ftpuser1/ftp sudo chown nfsnobody:nfsnobody /home/ftpuser1/ftp sudo chmod a-w /home/ftpuser1/ftp sudo mkdir /home/ftpuser1/ftp/files sudo chown ftpuser1:ftpuser1 /home/ftpuser1/ftp/files Step 6: Install and Configure FTP ServiceWe are now ready to install and configure the FTP service, we do so by installing the vsftpd package: sudo yum -y install vsftpdTake a backup of the default vsftpd.conf configuration file: sudo mv /etc/vsftpd/vsftpd.conf /etc/vsftpd/vsftpd.conf.bakWe’ll now regenerate the vsftpd.conf configuration file by running the following commands: sudo -s EC2_PUBLIC_IP=`curl -s ifconfig.co` cat > /etc/vsftpd/vsftpd.confWe need to ensure we are in passive mode before we perform the FTP put (upload). In this case I am uploading a local file named mp3data – again this will be different for you: ftp> passive Passive mode on. ftp> cd files 250 Directory successfully changed. ftp> put mp3data 227 Entering Passive Mode (18,236,230,74,173,131). 150 Ok to send data. 226 Transfer complete. 131968 bytes sent in 0.614 seconds (210 kbytes/s) ftp> ftp> ls -la 227 Entering Passive Mode (18,236,230,74,181,149). 150 Here comes the directory listing. drwxrwxrwx 1 0 0 0 Jan 01 1970 . dr-xr-xr-x 3 65534 65534 19 Oct 25 20:17 .. -rw-r--r-- 1 1001 1001 131968 Oct 25 21:59 mp3data 226 Directory send OK. ftp>Lets now delete the remote file and then quit the FTP session ftp> del mp3data ftp> quitOk that looks good! We are now ready to move on and configure the S3FS mount… Step 8: Startup S3FS and Mount DirectoryRun the following commands to launch the s3fs process. Notes: The s3fs process requires the hosting EC2 instance to have the S3FS-Role attached, as it uses the security credentials provided through this IAM Role to gain read/write access to the S3 bucket. The following commands assume that the S3 bucket and EC2 instance are deployed/provisioned in the same AWS Region. If this is not the case for your deployment, hardcode the REGION variable to be the region that your S3 bucket resides in. EC2METALATEST=http://169.254.169.254/latest && \ EC2METAURL=$EC2METALATEST/meta-data/iam/security-credentials/ && \ EC2ROLE=`curl -s $EC2METAURL` && \ S3BUCKETNAME=ca-s3fs-bucket && \ DOC=`curl -s $EC2METALATEST/dynamic/instance-identity/document` && \ REGION=`jq -r .region |
【本文地址】